We are off to Delaware today. The girls and I are boarding the airplane and embarking on a six and a half hour journey with one plane change in St. Louis. I tried everything I could to ensure a successful flight, but we'll see if we are hereafter banned from traveling with Southwest Airlines. With a 3 year old and a 16 month old...let's just be honest...it is a distinct possibility.
But never worry blog readers. I have cooked up some good posts for the next week and you will be getting a daily dose of some Ahern goodness while we're in the process of our move.
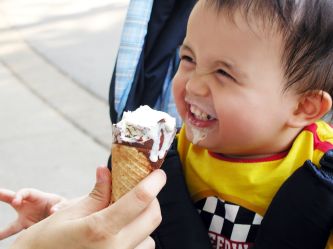
But, for today, a photo that makes me smile. I spent my last evening in Utah with my favorite family, the Foleys. I always have such fun with them that sometimes I want to throw on my jammies and stay the night. And because we needed a photo of their family so we could take it with us to Delaware, I took some photos of them tonight. I will share more later, but here is the best one of the shoot. I am always striving to display emotion, feelings and capture the essence of a person when I take photos and today I succeeded with little Noah Foley.

Fly Baby, Fly!
P.S. Dave and Emily...don't try to print this one large...it's reduced for the net, but I'll get high res copies to you later. Your kids are super-cute. No lie.
12
But never worry blog readers. I have cooked up some good posts for the next week and you will be getting a daily dose of some Ahern goodness while we're in the process of our move.
But, for today, a photo that makes me smile. I spent my last evening in Utah with my favorite family, the Foleys. I always have such fun with them that sometimes I want to throw on my jammies and stay the night. And because we needed a photo of their family so we could take it with us to Delaware, I took some photos of them tonight. I will share more later, but here is the best one of the shoot. I am always striving to display emotion, feelings and capture the essence of a person when I take photos and today I succeeded with little Noah Foley.
Fly Baby, Fly!
P.S. Dave and Emily...don't try to print this one large...it's reduced for the net, but I'll get high res copies to you later. Your kids are super-cute. No lie.